
As I talked about here, we brought the kitchen down to it's studs. If you look at the linked post you can see our former kitchen floor in all it's wrecked glory. Hubbs and I spent many a weekend removing the linoleum,
 |
| Ok, so TECHNICALLY I'm removing the counters, but the lino is gone too |
then the rotting MDF,

then the rotten plywood.

 |
| Hole in the floor BEGONE! |
Thus, we pulled out our handy dandy staple gun.... to find out we didn't have staples. So we hit up HD for staples, and they don't sell the staples for our current gun, and we had to buy a new one. Watch out furniture, I've got my eye on your old cushions.
Now that the holes in the floor were sealed up, we rolled the paper out and leaving 4-6 inches of overlap, stapled that bad boy to the floor:

Other awesome things about heavy duty felt? It's really easy to lift a shoe print. So don't commit a crime where this is on the floor. Oh, and I could felt the floor all on my own. Sweet!
Once we were all felt up (oh, yes) we proceeded to lay the cement board. We chose to use hardibacker cement board; it's more expensive, but also looked much stronger in the store. As in, the corners weren't crumbling. The rule with cement board is that four corners are never to come together, and that includes the sub floor. We chose to lay the hardibacker perpendicular to the direction of the plywood under base.

Here's the bucket of screws we used. Pay special attention to the number on that bucket. That 800 number. And we had to go buy more. On the upside, I am totally using that bucket for painting trim. Oh, it's the little things in life.

Once the hardibacker was attached with all 900 screws we went ahead and mortared the seams. I guess the hardibacker acts as a floating layer. Plywood doesn't move, hardibacker needs to be able to expand and contract with weather, so by mortaring all the seams we created one large base instead of 22 little ones, so our tile shouldn't crack!

Then we installed the cabinets (more on that later), and we are ready for tile. We actually picked up the tile week one of owning the house, before we knew that the whole kitchen had to come out. So here's hoping it winds up looking ok!
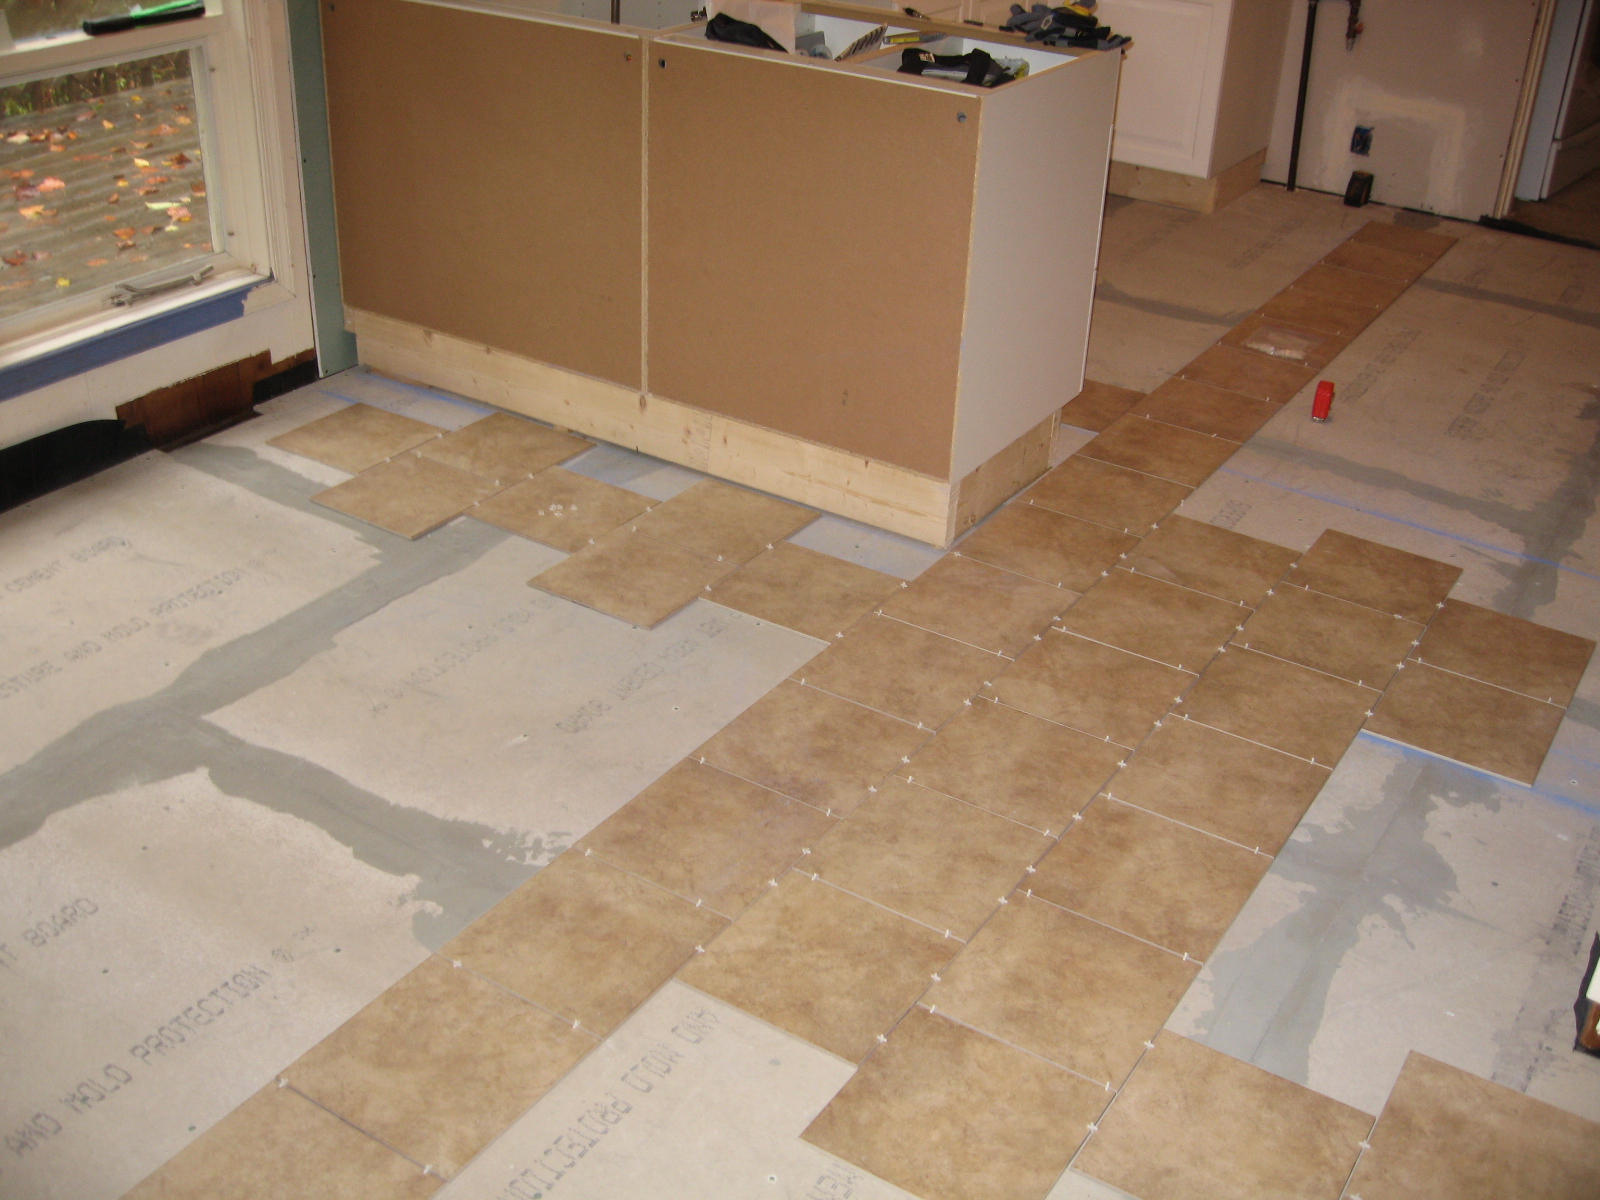 |
| Offset pattern |
 |
| Showing off my buttering skillz |
Tomorrow the granite comes. That means by Friday I might be able to wash stuff in my SINK.
I'm so impressed! My husband and I aren't handy at all.
ReplyDeleteHi there! any issues with tiles cracking? I noticed that some of your hardboards touch but their site says to leave 1/8 gap...thanks in advance.
ReplyDelete